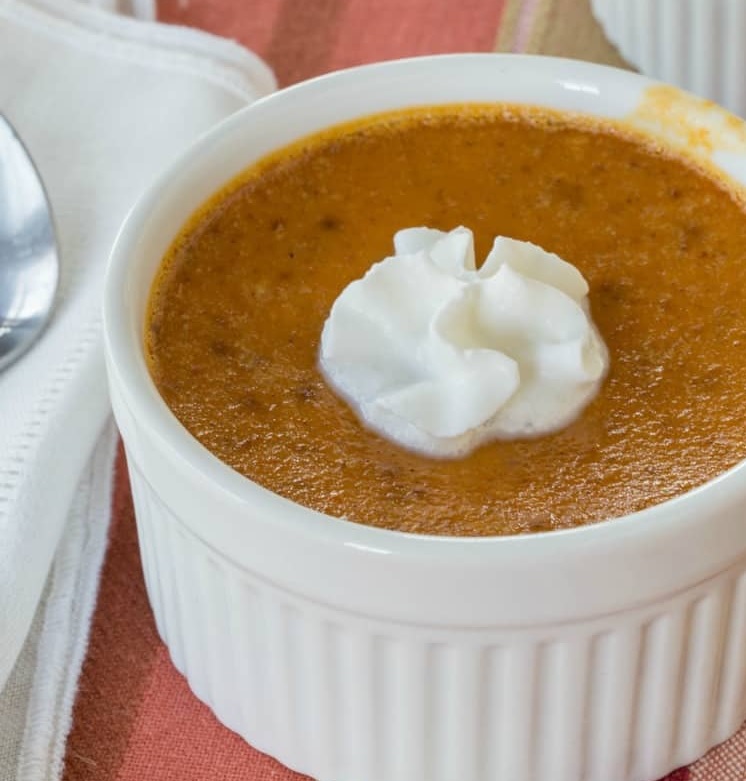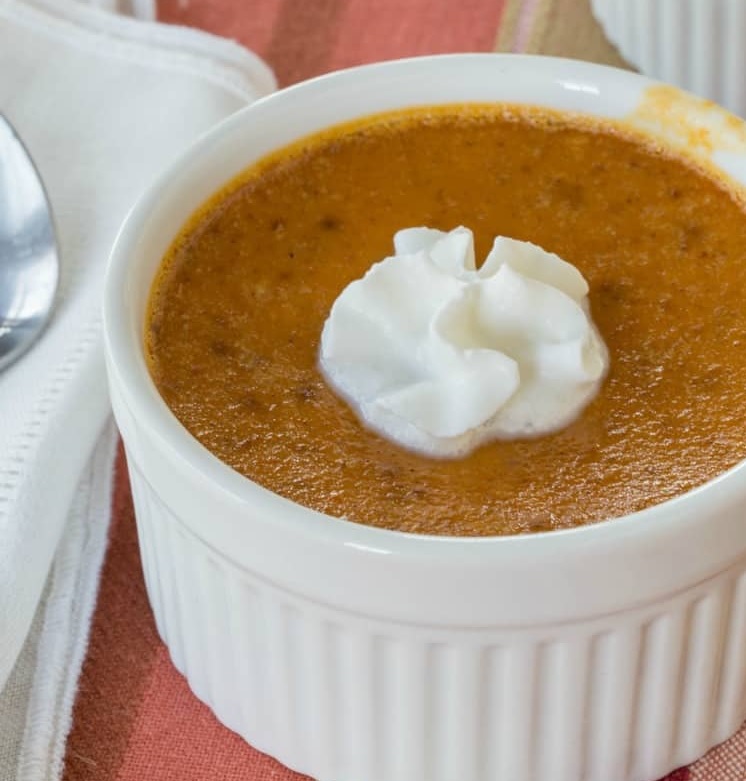
Mini Pumpkin Pots Recipe
With the fall season well and truly upon us, and with me missing out on most of my usual Spooktacular celebrations, I thought I would bring us a little Halloween Joy with these mini pumpkin pots!

Now I call these pumpkin pots because some years ago I found 4 black oven safe ceramic dishes which, while I think were supposed to be mini dutch ovens, just looked too much like cauldrons for me not to snatch up immediately! If you do not happen to have access to tiny black cauldrons, ceramic oven safe coffee mugs in a color of you choosing also work perfectly well (bonus points for Halloween colors!) but you can also adapt this recipe to work just as well in a mini muffin tray with the addition of some store bought pie crusts.
What you will need:
- Cooking vessels (cauldrons, coffee mugs, etc)
- Pie crusts and cooking spray if you need it
- A 2 lbs baking (or Pie) pumpkin (or one 15 ounce can of pumpkin puree if you cannot find a good baking pumpkin)
- 1 can condensed milk
- Seasoning; salt, brown sugar, cinnamon, clove, nutmeg (optional extras include cumin and coriander)
- 1 large egg
Yes, I really do recommend going out and getting your own baking pumpkin. First of all because going through the effort of starting with raw ingredients connects us more to our food, which is double important around this magical time of year, and secondly because I try to avoid canned or processed options whenever possible.
If you do intend to bring home your own pumpkin you can find out more about the different types and how to prepare them HERE. If you are not able to get your hands on an actual pumpkin, which I am unfortunately not able to do this year (Swedes don’t eat pumpkins – who knew?) you can of course use canned pumpkin puree, NOT pie filling. Pie filling is already seasoned and sweetened, puree is just pumpkin and therefor can be sweetened or spiced to your particular taste.
1 – Prep your Pumpkin
If you are using baking pumpkin, follow the directions for cutting and roasting your pumpkin pieces, unseasoned, HERE.
2 – Prep your Pumpkin Pots
Preheat your oven to 375 F (about 190 C) and prep your baking vessel of choice. If you are using mugs or baking dishes apply a little light spray. If you are using a muffin tin spray liberally and line with ready-made pie crust and set in the fridge to chill and firm up.
3 – Blend your Pumpkin Filling
Combine your pumpkin, either freshly roasted or canned puree, with about a half cup of sweetened condensed milk and blend in either a food processor, with an electric mixer or by hand using a potato masher and spoon. Once everything is smoothly incorporated we can add our spices.
4 – Seasoning Our Pumpkin Pots
You may have noticed I did not include any measurements for our spices, and that is because in my experience to get the most out of a vegetable like a pumpkin it really should be seasoned to taste. I recommend starting with a teaspoon each of salt, cinnamon, nutmeg, and an eighth of a cup of brown sugar. My family’s favorite also involve cloves, coriander, and cumin and can be almost savory by the end. But for sweeter fillings double up on the brown sugar and cinnamon.
At this point, your filling is perfectly safe to taste (it’s just roast pumpkin and condensed milk) so you can season, mix, taste, and repeat as often as is needed or until you’ve eaten all of your filling and need to start over. Remember that the flavors from your spices will reduce slightly upon baking, so it’s okay to be a little stronger than you might expect but be careful not to go over the top.
Once you have things seasoned the way you like them, go ahead and add in your large egg. No more taste testing at this point! And get ready to bake
5 – Bake your Pumpkin Pots
Fill your baking vessels (coffee mugs, cauldrons, muffin trays) up 3/4 of the way to the top with filling. This mixture will rise slightly and you definitely don’t want pumpkin overflow all over the bottom of your oven. If your oven has two wracks, I recommend placing a baking tray on the shelf below just as a precaution.
Because there is no set size container, your baking time will vary greatly depending on what you bake in. For regular sized muffin trays I recommend starting at 20 minutes though they make take up to 30. For everyone else, depending on how much larger your pumpkin pots are than a normal muffin, adjust your timing from there.
You are looking for the filling to set slightly around the outside of the container and brown, but if you jiggle the tray it should still be slightly bouncy in the center. If you can dip a spoon into the middle of your pot like it’s soup, they are not ready. Unfortunately, a skewer test will not help you much in this regard but these types of fillings are very forgiving of being slightly overbaked but not so much underbaked, so err on the side of caution and give it a few more minutes if you are not sure
6 – Enjoy your All Hallows Treat
Once you think your pots are done baking go ahead and pull them out and set aside to cool. You can refrigerate these to enjoy later (wait until room temp before putting in the fridge) or let them come down to a comfortable temperature and enjoy warm.
A dollop of whipped cream certainly wouldn’t go amiss and a little sprinkling of cinnamon sugar or nutmeg on top is always a nice treat.
I hope you guys enjoy these spooky little dishes! I know I certainly will.
One thing I have learned for sure this year, between quarantine and moving halfway around the world, is that the holidays, or any holiday really, are what you make them.
So make the most of the time you have. Start a new tradition. Revisit an old one. And, most of all –
Have a Happy Halloween!!!
Check out this and more original content available every week at TheNerdyNanny.com by subscribing to us on Facebook or Instagram.
You can also check out Eve Daniels, author of The Nerdy Nanny books, on YouTube where she gives writing and academic advice as well as updating you on all of her latest and upcoming projects.
